
The Complete 10-Point Post-Construction Cleaning Checklist for Charlotte Contractors
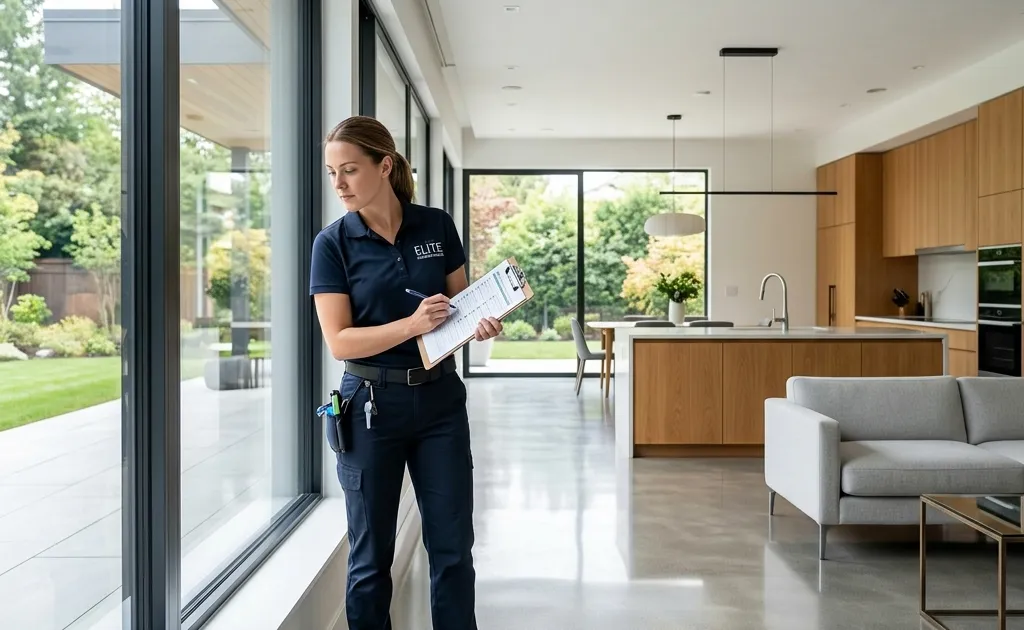
In construction, the final clean is not a formality — it is the last impression your work makes before the client walks through for the first time. A job site that looks finished but feels gritty or hazy signals that attention to detail stopped at the visible work. For Charlotte-area contractors competing in a market where referrals drive new business, the post-construction clean is as important as the quality of the build itself. Here is the complete 10-point checklist our crews use on every job site across the Charlotte metro.
The 10-Point Post-Construction Cleaning Checklist
1. Rough Debris Removal
Before any cleaning begins, remove all large construction waste: lumber scraps, drywall offcuts, packaging, tarps, and debris piles. Sweep all surfaces with a commercial push broom, working from the top floor down to the lowest level. Bag and dispose of all materials per the job site waste plan. This phase sets the stage for everything that follows — attempting detail cleaning over large debris wastes time and misses material underneath. Every crew member should walk their assigned area twice before moving to the next phase.
2. HVAC Vents, Registers, and Ductwork
Construction dust penetrates HVAC systems even through temporary filters. Remove all supply and return register covers, wash them with soap and water, and dry before reinstalling. Vacuum duct openings with a HEPA-filtered attachment to capture fine particulate before the system is activated. Replace any temporary construction filters with fresh final filters rated for the space. Drywall dust that remains in ductwork will recirculate through the building for months after occupancy — this is one of the most common complaints from first occupants of newly constructed spaces.
3. Window and Glass Cleaning
Construction windows accumulate layers of paint overspray, silicone sealant, label adhesive, and drywall haze. Use a single-edge razor scraper to remove hard deposits before washing — wiping without scraping first can drag particles across the glass and cause scratches. Clean both interior and exterior panes, all tracks, and the perimeter sill. Wipe down all door glass, sidelights, and transoms. Finish with a streak-free glass cleaner applied top to bottom. Check each pane under raking light to confirm no haze remains.
4. Paint and Adhesive Removal
Paint drips, sealant smears, tape residue, and adhesive from protective films are inevitable on any job site. Each material requires a specific removal approach: latex paint yields to water and a plastic scraper while still fresh but requires a chemical paint remover once cured; silicone sealant must be cut and peeled; adhesive residue responds to acetone or commercial adhesive removers. Work systematically through every hard surface — floors, countertops, hardware, and window frames — before moving to general surface cleaning.
5. Kitchen Deep Clean
Newly installed kitchens accumulate construction grime in every crevice: inside cabinet boxes before doors are hung, in drawer slides, around appliance cutouts, and under the toe kick. Clean all cabinet interiors and shelves. Wipe down all appliance interiors and exteriors including the inside of any installed oven, dishwasher, and refrigerator. Clean sink basins and faucets, removing any plumber’s putty residue from around drains. Degrease the range hood filter and interior. This room receives the most scrutiny during client walkthroughs and should be treated accordingly.
6. Bathroom Sanitization
Post-construction bathrooms need both cleaning and sanitization. Tile work accumulates grout haze — a thin film of dried grout that dulls the surface — which must be removed with a dedicated grout haze remover before final photos or occupancy. Scrub all tile surfaces, grout lines, tub surrounds, and shower pans. Clean toilet bowls, tanks, seats, and the floor around the base. Polish all mirrors and chrome fixtures edge to edge. Check caulk lines for neatness and touch up any gaps at the tub-to-wall or floor-to-wall joint.
7. Floor Treatment by Material Type
Floors require different approaches based on material: hardwood floors should be cleaned with a pH-neutral wood cleaner — never wet-mopped — and inspected for adhesive spots and scratch marks. Tile floors need grout haze removal followed by mopping with a tile-safe cleaner. Luxury vinyl and laminate should be damp-mopped only, as standing water causes edge swelling. Concrete floors should be swept, HEPA-vacuumed, and mopped with a degreaser before any sealer or wax is applied. Never use the same mop or bucket between material types.
8. Wall and Ceiling Dusting
Construction dust is electrostatic and clings to freshly painted walls and ceilings with surprising tenacity. Use a microfiber dusting mop with an extension pole to wipe all wall surfaces from ceiling to floor. Pay particular attention to corners, where dust accumulates in the joint between walls. Wipe all door frames, casing, and window trim. In humid weather — common across the Charlotte metro from April through September — dry-dusting alone is insufficient; a slightly damp microfiber cloth is needed to fully capture particulate that has bonded to painted surfaces.
9. Light Fixtures and Electrical Covers
Every recessed can, pendant box, switch plate, outlet cover, and ceiling fixture collects dust during construction. Wipe the interior trim ring of every recessed light with a dry microfiber cloth. Remove and wash any globe or shade-style fixtures that accumulated dust during installation. Wipe down all switch plates and outlet covers — these are touched during every client walkthrough and stand out immediately when dirty. Check that all fixture lenses are free of paint overspray or adhesive residue from protective shipping films left during installation.
10. Final Inspection Walkthrough
The final walkthrough is a systematic re-inspection of every surface using proper lighting, not a ceremonial sign-off. Use a high-lumen handheld light held at a low angle — raking light — to reveal streaks on glass, dust on painted surfaces, and adhesive residue that is invisible under standard overhead lighting. Walk every room in sequence, checking surfaces at eye level, below knee level, and above head height. Flag any items that need a second pass before delivering the space. Document with photos before the client’s walkthrough to establish condition at handover.
Charlotte-Specific Considerations
The Charlotte metro’s humid subtropical climate creates post-construction challenges that are less common in drier regions. The Piedmont’s red clay soil is tracked into job sites from the first day of excavation to the last day of landscaping, leaving a reddish stain on concrete and light-colored flooring that requires an acidic cleaner for full removal — standard all-purpose cleaners will not touch it. Summer humidity above 70% causes drywall dust to bond to surfaces, making dry-dusting alone insufficient on humid days. Year-round construction without a cold-weather shutdown also means Charlotte job sites can accumulate tree pollen as a secondary contaminant from March through June — a HEPA vacuum is essential for capturing fine organic particulate that standard shop vacuums simply redistribute into the air.
Nate’s Cleaning provides post-construction cleaning for contractors and builders across 5 Charlotte metro counties — Mecklenburg, Cabarrus, Union, Gaston, and Iredell. Our crews arrive with commercial HEPA equipment, material-specific cleaning agents, and the checklist above on every job. Request a quote for your next project.